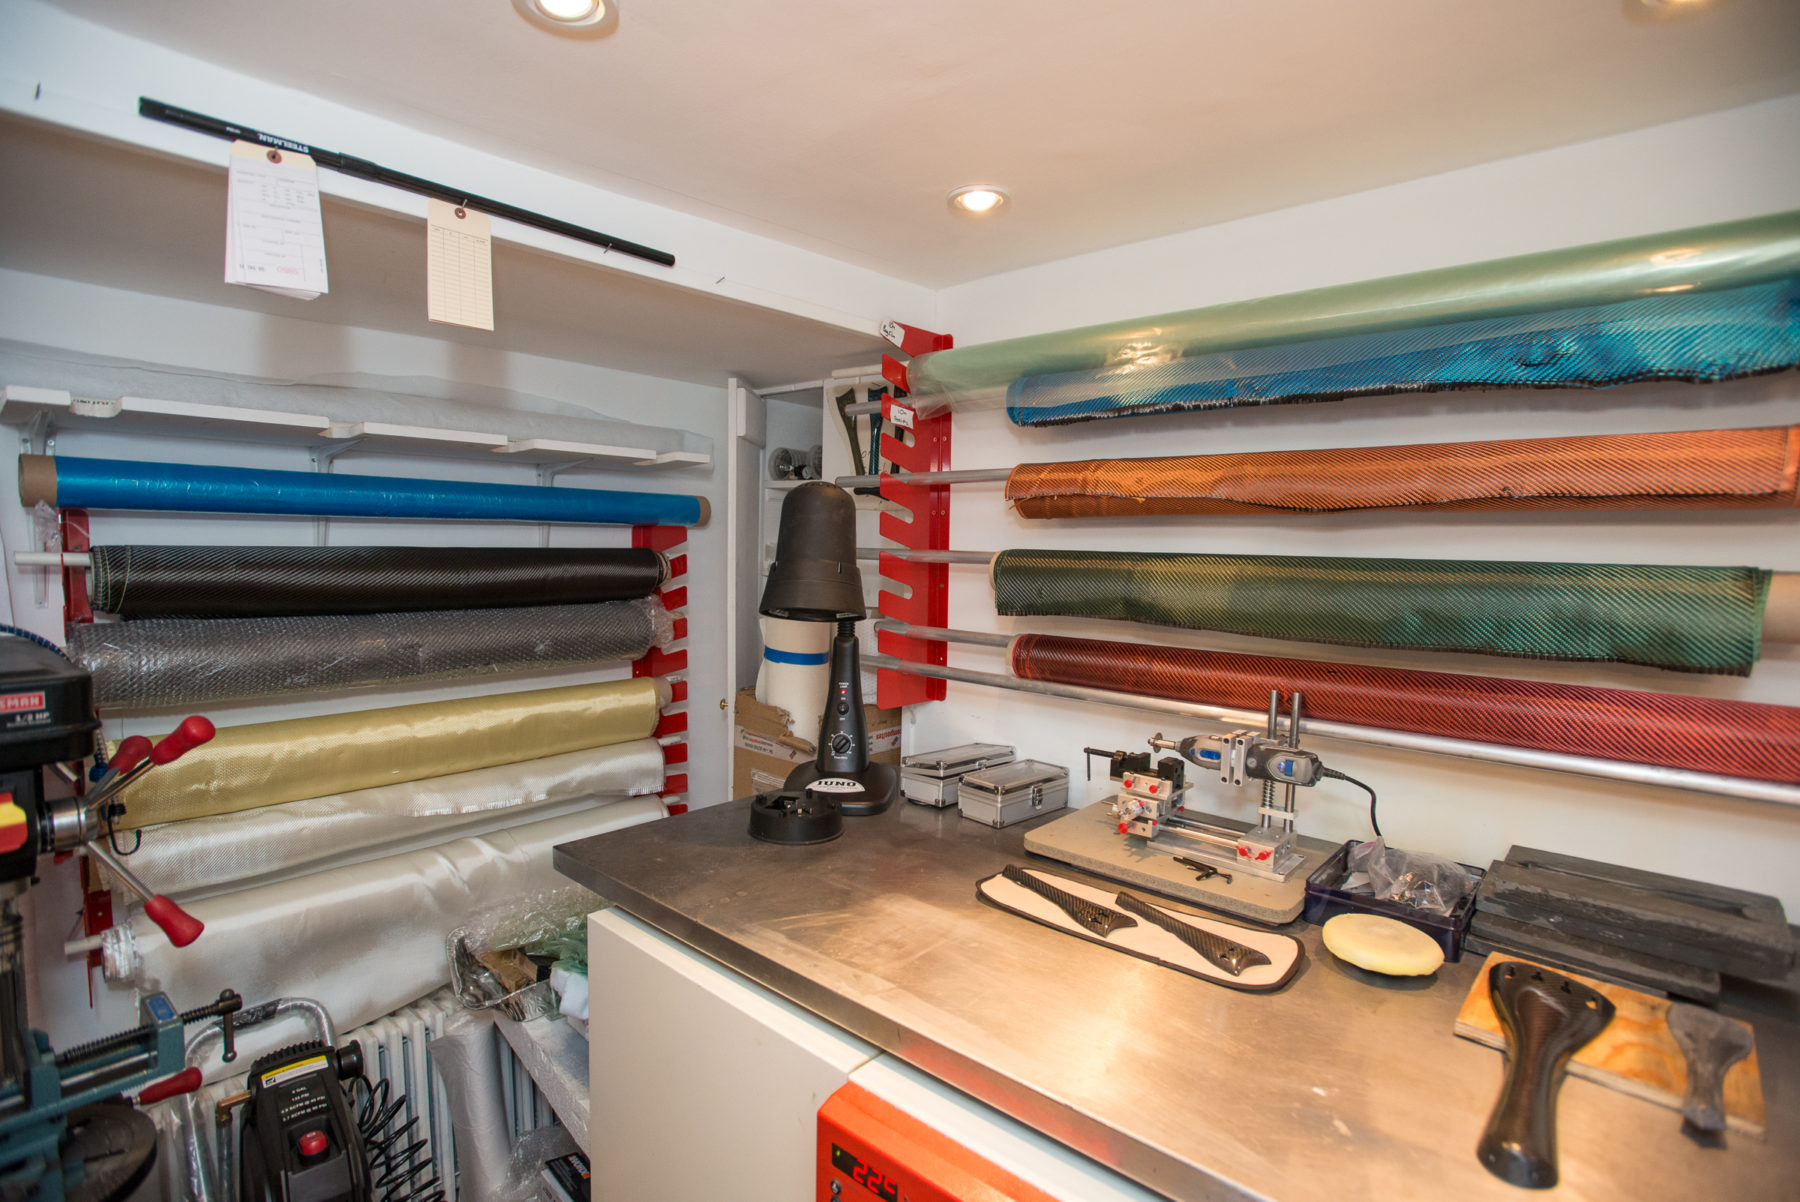
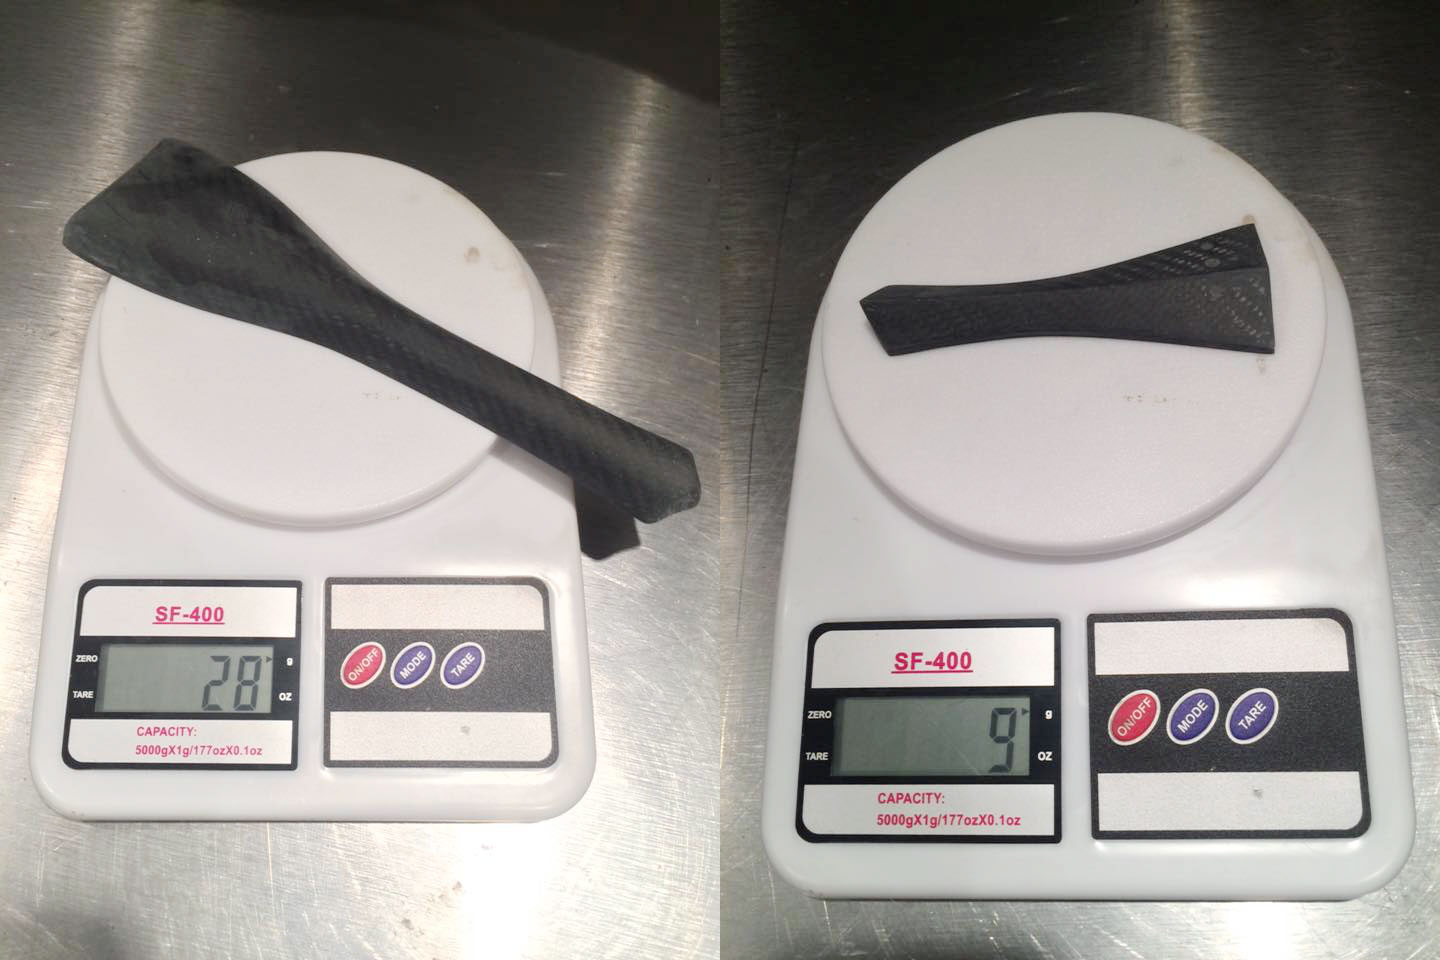
Carbon Fiber(CF) is basically carbon that is woven in to threads and act as a fabric. It is usually a cross weave just like any other fabric but there are various sizes of the weave, the most common for what I am doing is using a 2mm x 2mm.
As a piece of fabric, it is weak and flexible but once the epoxy resin is added, it is incredibly strong compare to other materials of the same weight.
The most exotic cars, bikes, and even now drones are using CF in the construction mainly to reduce the weight.
One thing that no one has ever pay attention to it is the way it sounds. Because of its density after the resin cured it has a natural ringing effect that is pure natural. Because of how hard and light it is, it is able to transmit vibration in a much faster time.
CF is very brittle, unlike the Kevlar which absorbs vibration, it will shatter upon impact while the Kevlar will not and that’s why Kevlar are used for making bullet proof vests etc. but it is terrible for transmitting vibration or sound.
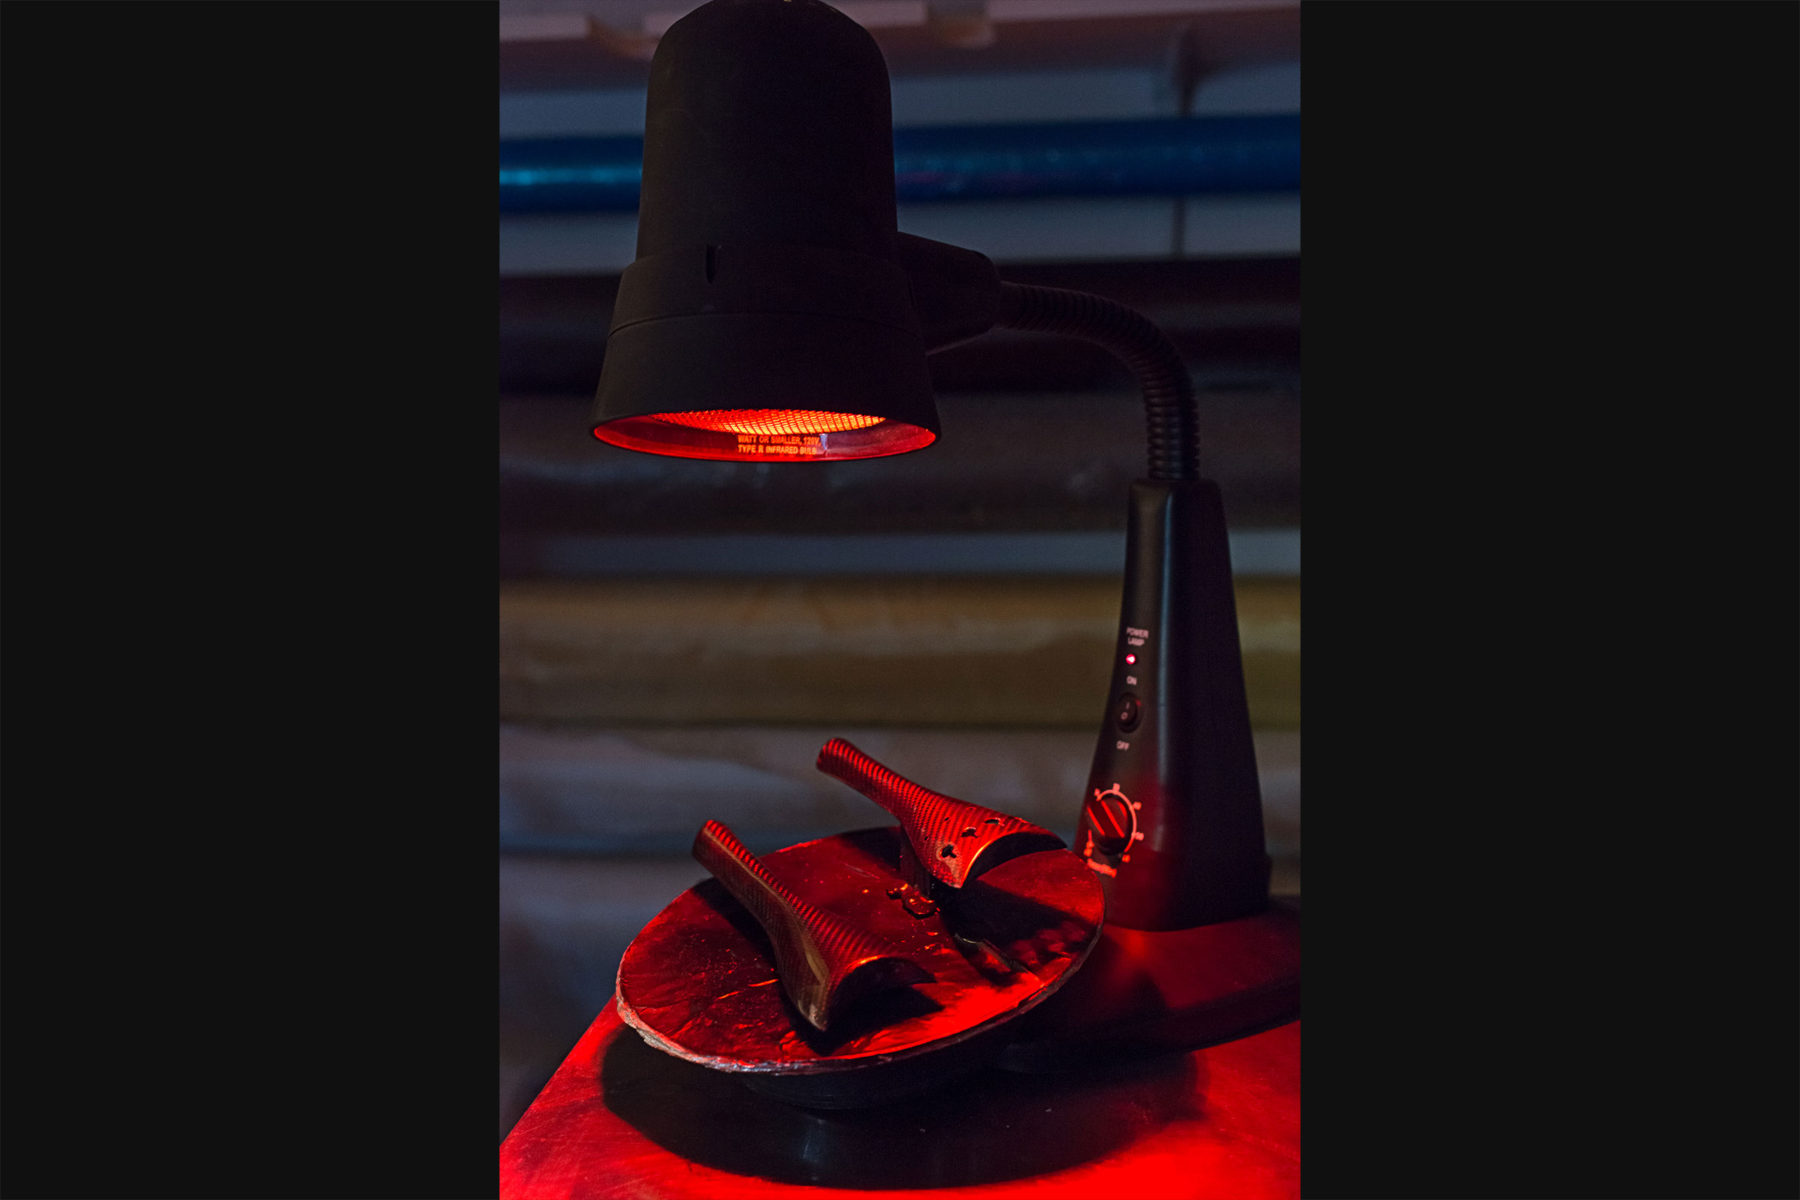
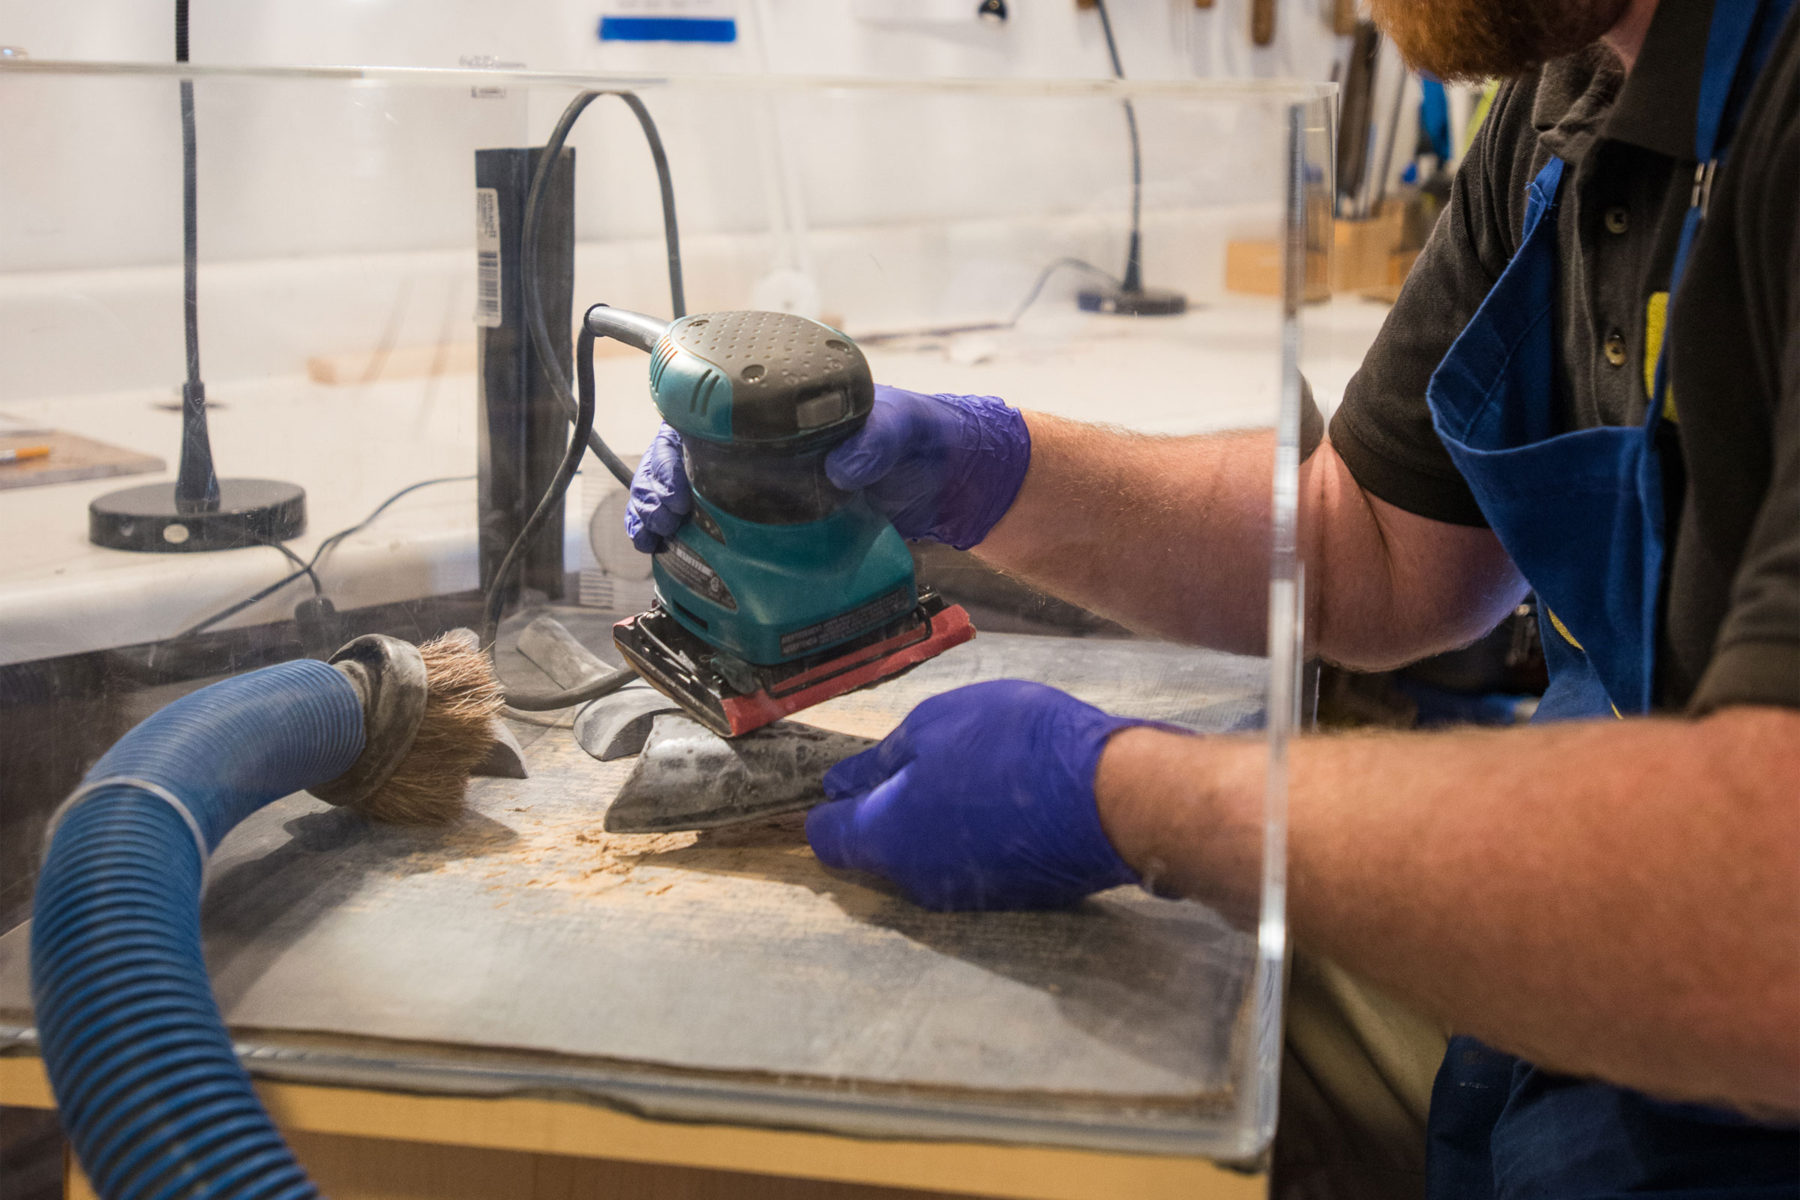
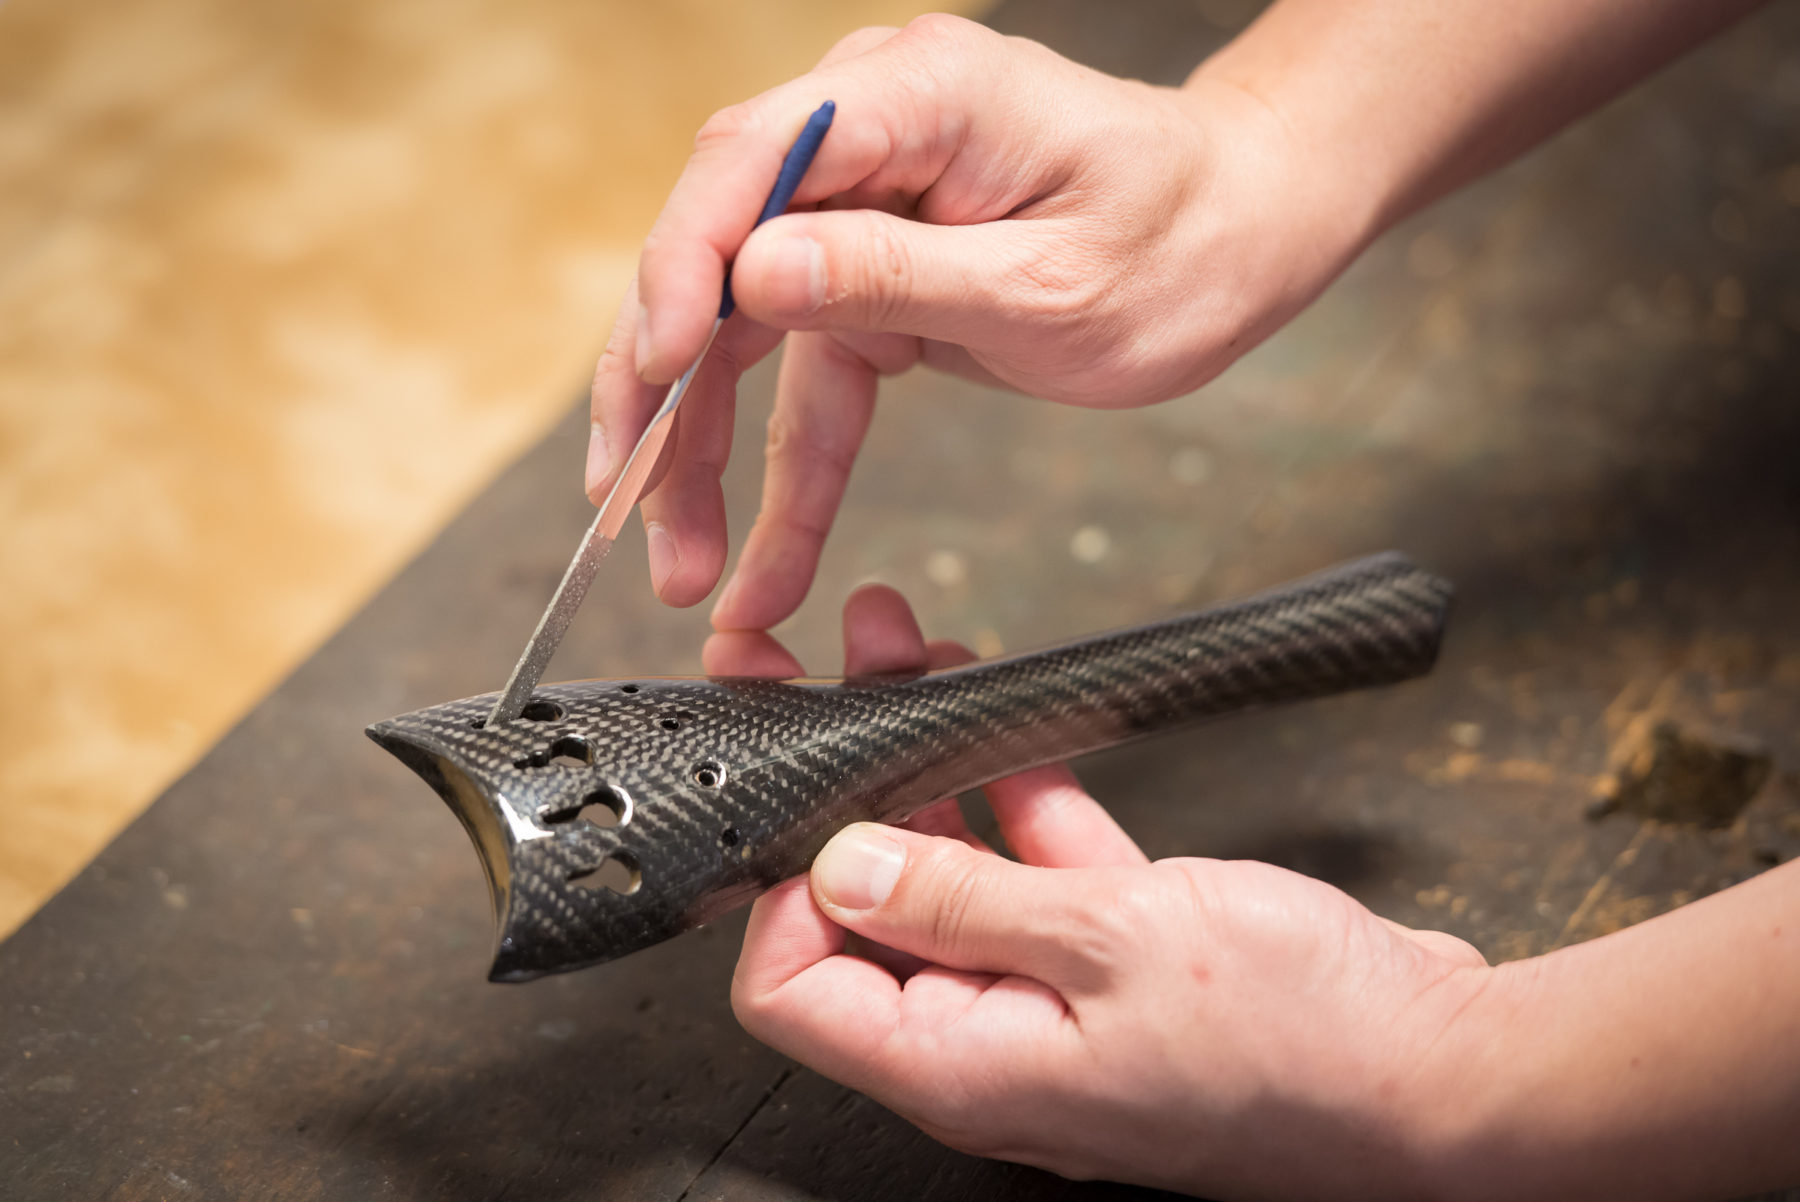
Making a CF part is time consuming, there are no short cuts when doing it the correct way and that’s why they are very expensive. Each step takes tremendous effort and waiting for the epoxy to dry can take up to 8-10 hours each time curing in the oven at 180 degrees. It’s similar to making a violin. You have your material, pattern, lots of extra material that you throw away, you make a mess, you glue it, cut it, shape it, varnish it (clear coat), you sand it, polish it, drill holes etc..
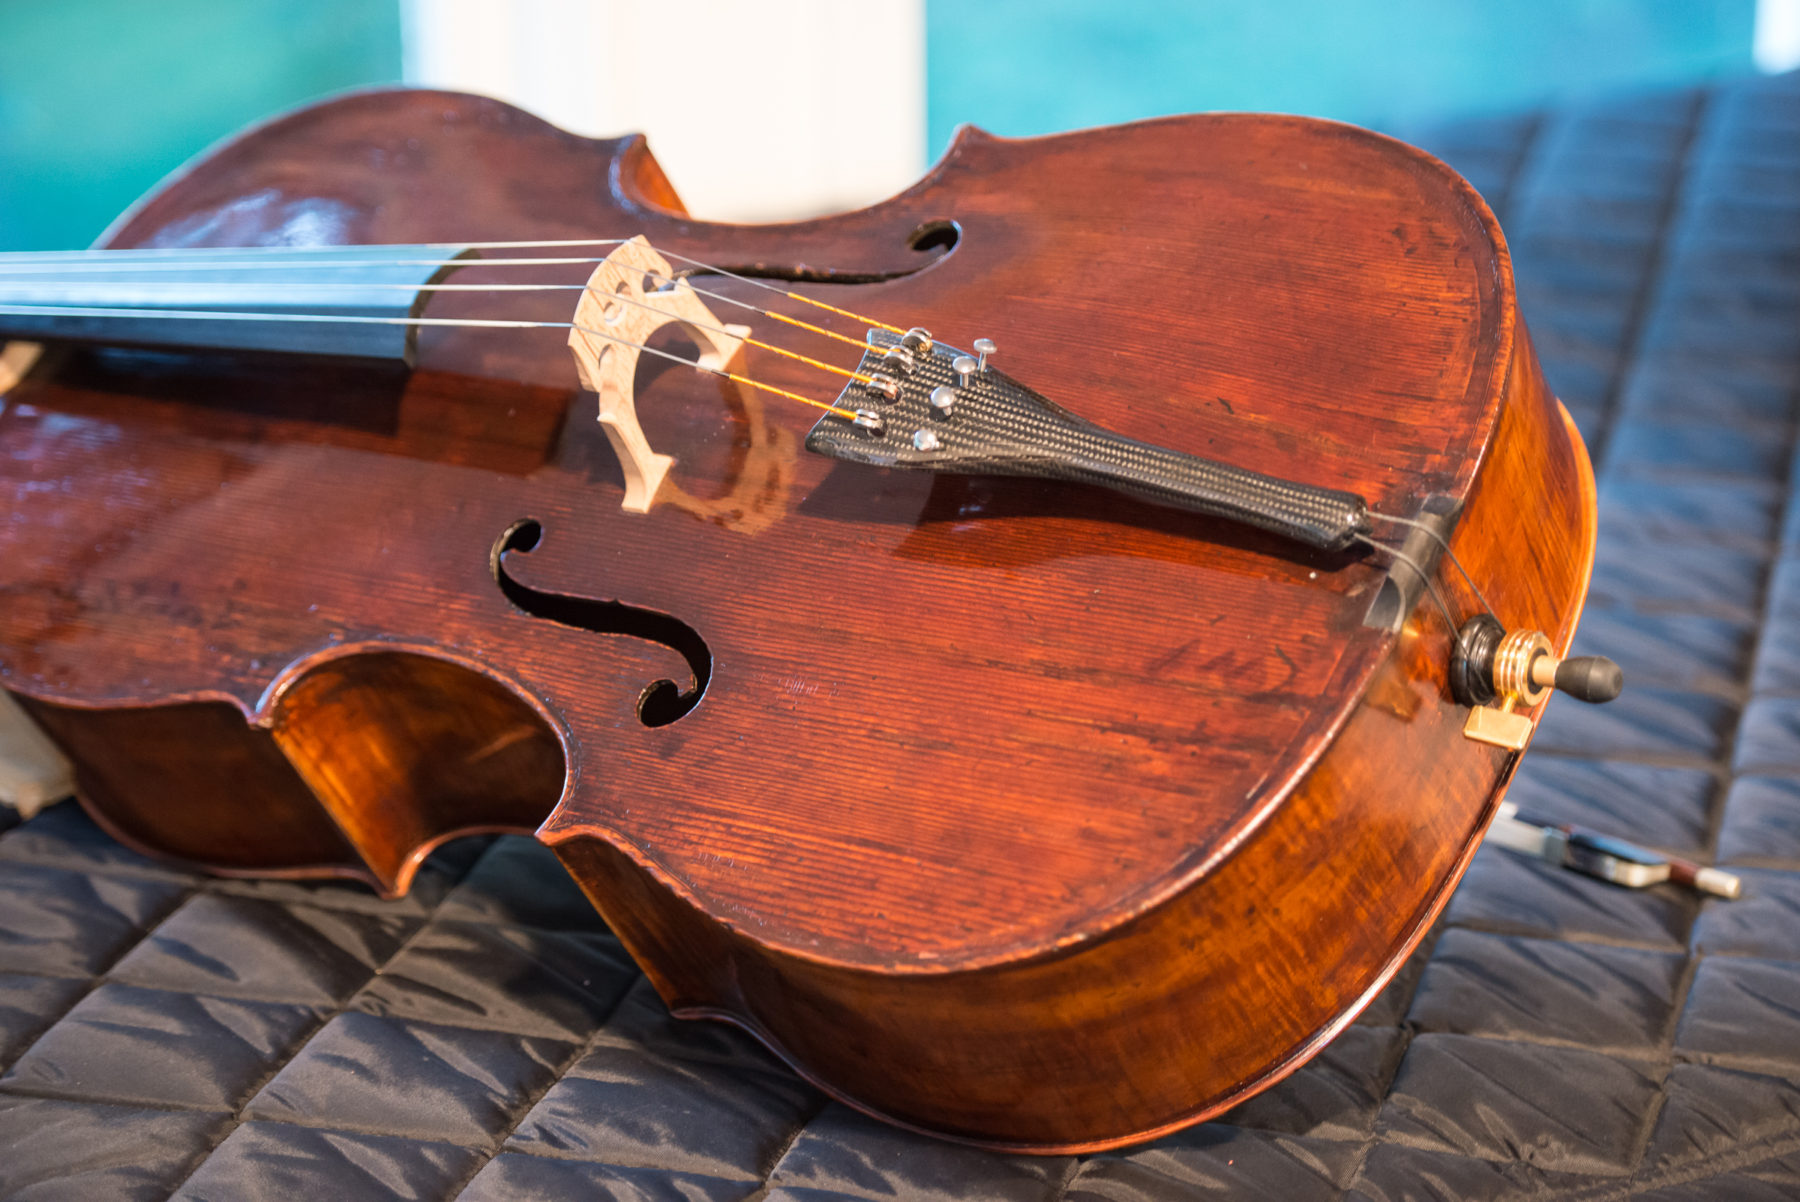
I have spoken with many experts in F1 racing and everyone agree that each piece is made by hand and the mold for each part can take weeks to refine. That being said, this entire CF tailpiece experience has been amazing that I am able to learn and discover how we can use this amazing technology to enhance our beloved instruments and set it free at last.


